| « Easier way to replace the swing plate assembly (RM1-0043) |
JetDirect Configuration in HP LaserJet Printers
02/19/07
JetDirect Configuration in HP LaserJet Printers
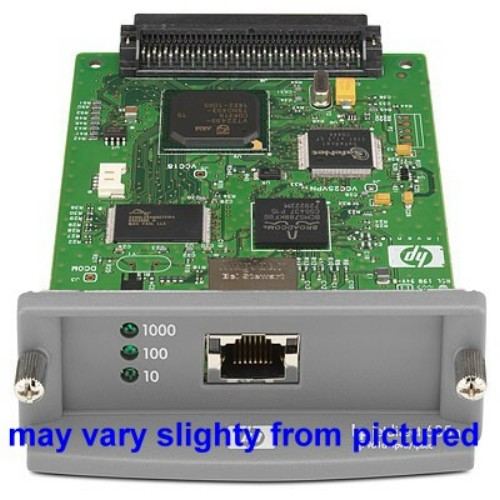
In HP laser printers and DesignJet Plotters, the network configuration is stored on the network card (also known as the JetDirect card or EIO card), not on the Formatter board.
(Follow this procedure for HP DesignJet Plotters as well) Therefore, you need to reconfigure whenever a network card is installed or replaced. There are numerous ways to configure the network. Here's what we recommend:
Follow up:
First, before attaching the printer to the network, install the card into the printer, power up, and then go into the printer's "EIO" menu ( X represents the slot number that the EIO card is in). Menu structures are different in different printer models, so printing out the menu map may help you find this menu. Setup details also differ from one model to another, but in general, assuming that you have an Ethernet network (10Base-T or 100Base-TX) using a TCP/IP protocol (by far the most common), the basic steps are similar:
Tell the printer that you want to configure the network ("Configure Network = YES*" or something similar).
Select "TCP/IP" as the network type (you may also have to set "Configure TCP/IP = YES*").
Select "manual" as the configuration method (other choices are "BOOTP" or "DHCP" in some printers, you may have to set BOOTP = NO* and/or DHCP = NO*).
Enter 3 groups of numbers: IP Address, Subnet Mask, and Default Gateway. Each of these is configured as 4 bytes. For example, if the IP address is 10.1.1.24, Byte 1 = 10, Byte 2 = 1, Byte 3 = 1, and Byte 4 = 24, and these are the numbers you would enter. Ideally, you will have a record of the previous configuration, so that you can put in the same numbers. If not (or if this is a new installation), you can always assign new numbers. However, you can't just put in any old numbers (in particular, if there are multiple devices on the network, you can't use the same numbers as any of the other devices!), so it is best to consult the customer's IT personnel at this point.
Now power down, connect to the network, power back up, and print a configuration page to verify the network configuration. In most cases, you're done at this point, but some operating systems will have trouble finding a printer even after the address has been defined. So we recommend running HP's Install Network Printer Wizard, which can be downloaded for free from HP's website (www.hp.com) – just type Install Network Printer Wizard into the search window and you'll find it. This program will step you through the installation of a new printer, and will also help the network find an existing printer. (NOTE: You can also do all of this with HP's Web Jetadmin software (also available as a free download), but this is much more complicated, so stick with the software described above unless you are an IT professional.)
Like Computer Care on FaceBook
Follow us on Twitter
computer Care on Pinterest
computer Care on instagram
Visit the Computer Care Catalog Online for all your part needs.

