Windows users are all too familiar with the infamous and notorious Blue Screen of Death or BSOD that spells certain headaches and time for a computer user.
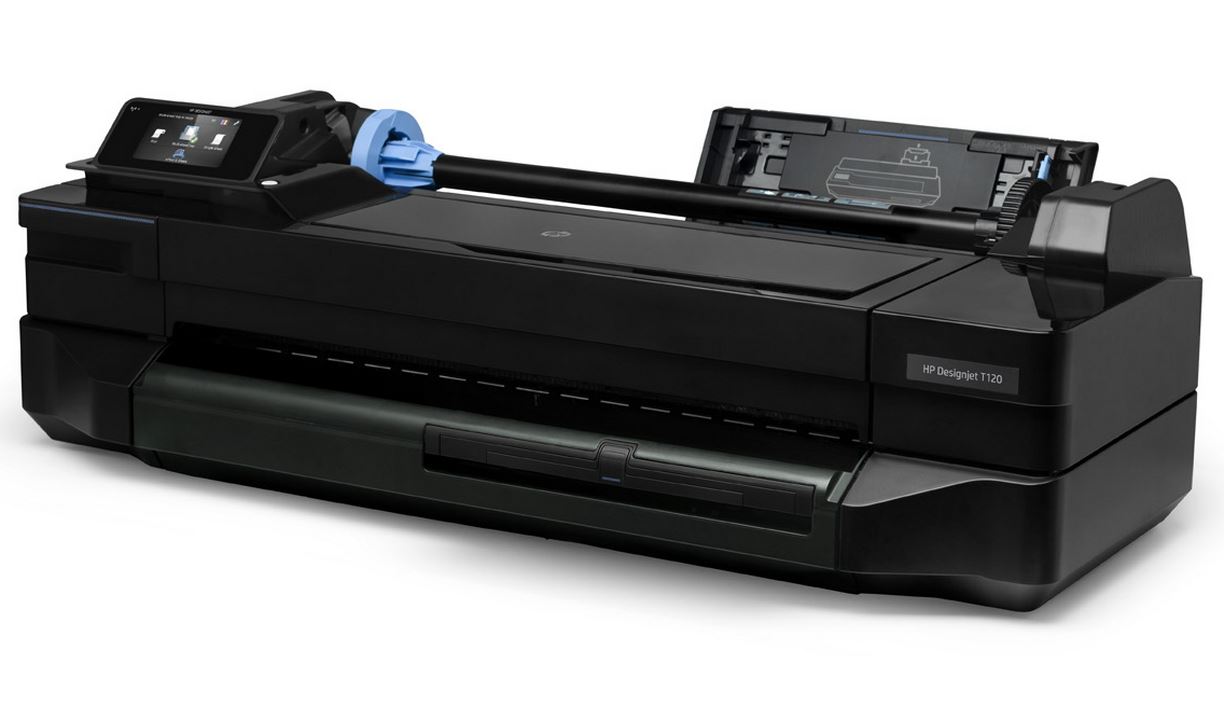
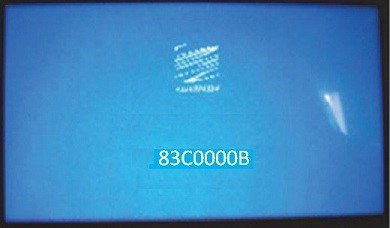
What to do if you turn on your HP DesignJet T120 or DesignJet T520 Plotter and it has a Blue Screen of Death, with a System Error Code of 83C0000B or 00541654 (there are others)?
Follow up:
A cursory search of the Internet will reveal a fairly simple, although slightly costly solution of swapping out the plotters main board. This is a viable solution, but one that may not be necessary.
You may be able to simply swap out the USB Service Kit and solve the problem.
This solution is a little faster and a cost saver for you and your customer.
New USB thumb drive service kit available (PN: CQ890-67105)
Description
The USB thumb drive included on the Main PCA is now available as a separate service kit.
Part Number: CQ890-67105 - USB New module with F/W SV
This service kit can be ordered and replaced instead of the Main PCA for issues related with the Blue screen error (as shown in the picture above).
NOTE: The USB thumb drive service kit is more cost-effective than the replacement of the Main PCA.
Issue
The printer displays the blue screen with an alphanumeric error code on the front panel during printer initialization. The alphanumeric error code may be different case by case.
So lets get to it:
How to replace
Required tools (Mandatory):
NOTE: They are not included in the box.
Procedure:
Unplug the plotters power cord from the back of the plotter.
Follow the steps in the Service and Repair Manual to remove the:
- Remove Front Cover
- Remove The Ink Cartridge Door
- Remove Left Cover
- Remove the Main PCA. Refer to the Service Manual for removal instructions.
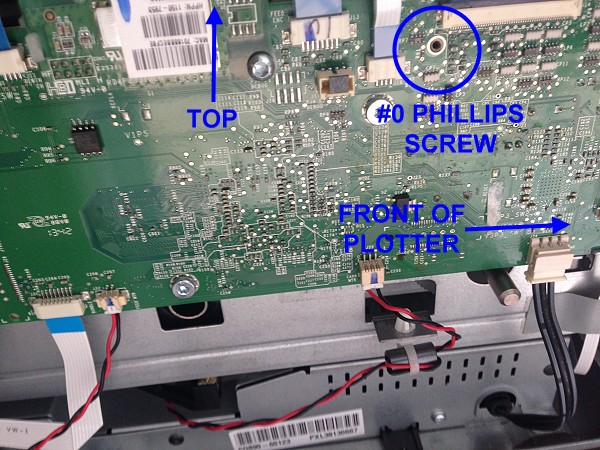
- Carefully remove the small screw shown in the picture using the Phillips #0 screwdriver. CAUTION: Be careful not to break the head of the screw.
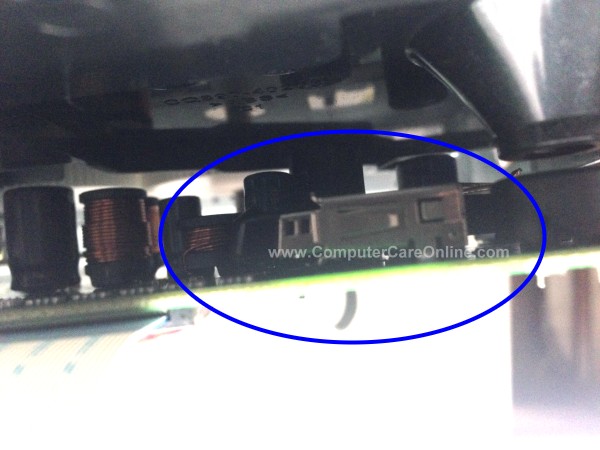
- From the backside of the Main PCA, gently remove the original USB thumb drive. CAUTION: Be careful not to break the connector. It could be quite tight. NOTE: The size of the USB thumb drive could be shorter than the original one. In this case, there is no need to use the screw removed in step 5.
- If the issue still persists (although the possibility is much lower), replace the Main PCA.
- Once the issue is resolved, update the firmware to the latest version.
That should resolve your BSOD error of your DesignJet Plotter.
Now, this is how I cheat when I do this repair. Saves a few steps, a little faster and if you do not remove the main board from the chassis there is less chance of something going tragically wrong.
Steps to follow and steps to skip:
Unplug the plotters power cord from the back of the plotter.
Remove the front cover
Do not remove the Ink Cartridge door; open the door so you can access the Left Cover screw inside of it. (Removing this door is tricky as the hinges are tight and have a tendency to break, so leave it attached)
Remove the Left Cover.
Always: ESD (Electro-Static Discharge) gloves or grounding strap.
Carefully remove the small screw shown in the picture using the Phillips #0 screwdriver.
CAUTION: Be careful not to break the head of the screw.
(Now the fun part)
Do not remove the main board.
Look down from the top, towards the front of the board and you will see the old USB Module plugged into the USB port on the board. Directly behind the #0 screw you had to remove.
Use a small set of needle nose pliers to gently grasp the PC board section of the USB module, about a 1/3 of the way down the module and carefully remove the offending module. You may have to wiggle it a bit to get it to move, do not force it, work carefully.
Note the orientation of the USB plug on the end of the offending module, orient your new module accordingly so you can plug the new one in on the first try.
This part is tricky because there is not a lot of room to work with.
If you can use your fingers great, if not, use your needle nose pliers to grasp the new module. Gently insert the new module and push it, carefully, in until fully seated. You must be careful so you don't break the USB port off of the board.
Once the new USB module is installed you can plug the plotter in, without the left cover on the plotter, to test. If you see the normal boot process and the HP logo on the screen, you have been successful.
- If the issue still persists (although the possibility is much lower), replace the Main PCA.
Unplug the plotter and reassemble the machine.
- Once the issue is resolved, update the firmware to the latest version.
Using these cheater steps I generally save about a half hour to forty-five minuets when I make this repair and I avoid any issues that could arise from removing and reinstalling the main board.
Good Luck.
Like Computer Care on FaceBook |
Follow us on Twitter |
Computer Care on Pinterest |
Computer Care on instagram |
Visit the Computer Care Catalog Online for all your part needs |
Tips, Tricks and Repair Info Blog
1 comment
Our printer is back to working state after BSOD.


