| « Wrinkles Folds and Creases in Laser Printer Pages | LaserJet Printer Page Top Center Folded Down » |
System Error 59.F0 Color LaserJet CP3525
10/16/18

Categories: LaserJet Error Codes and Repair, Color LaserJet 3525
System Error 59.F0 Color LaserJet CP3525
System Error 59.F0 Color LaserJet CP3525
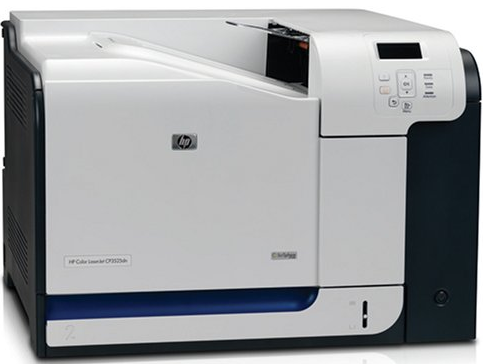
One of many errors that can appear on the control panel of the HP Color LaserJet CP3525 series of printers is the error code 59.F0. This error usually appears after the printer has run its power on self-test and right after you would see Initializing on the panel.
The error usually occurs a few seconds after Initializing has appeared and this error is non-continuable.
Follow up:
The service manual gives a cause for this error of:
The primary transfer-alienation motor has experienced an error.
Diagnostics:
- Check to ensure the ITB is installed correctly.
- Run a sensor test to verify that the primary transfer disengagement roller is functioning. If not replace the sensor (SR17).
- Run the primary transfer drive test in actuator drive mode. If not functioning,replace the ITB.
I suggest you follow the steps and eliminate all other possible causes for this error first.
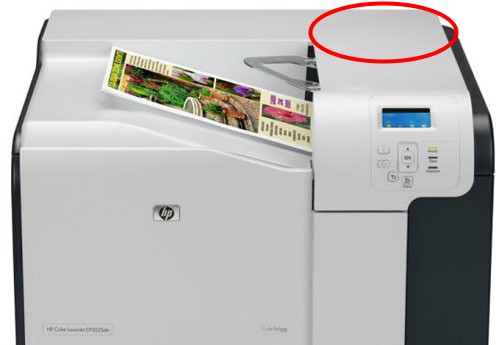
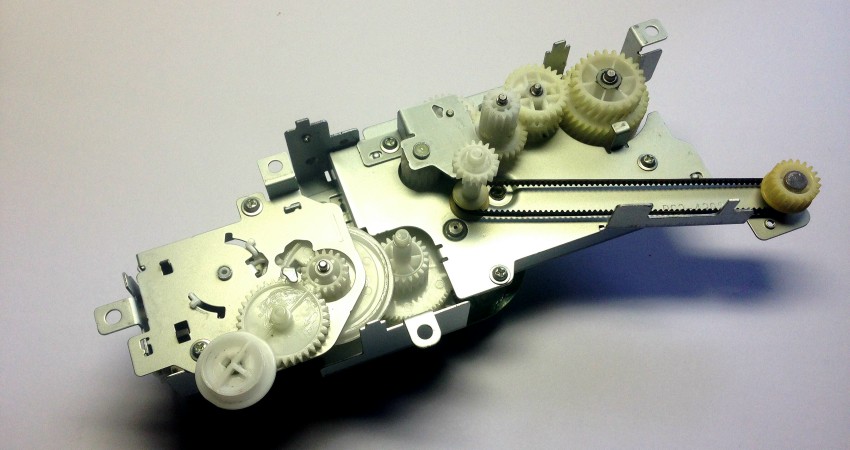
If the above conditions do not exist, you can not correct the error and before you have actually replaced the transfer belt; especially if when you power on the printer you hear a small grinding noise coming from the back, top, right corner of the printer, you may have a bad Fuser Drive Assembly.
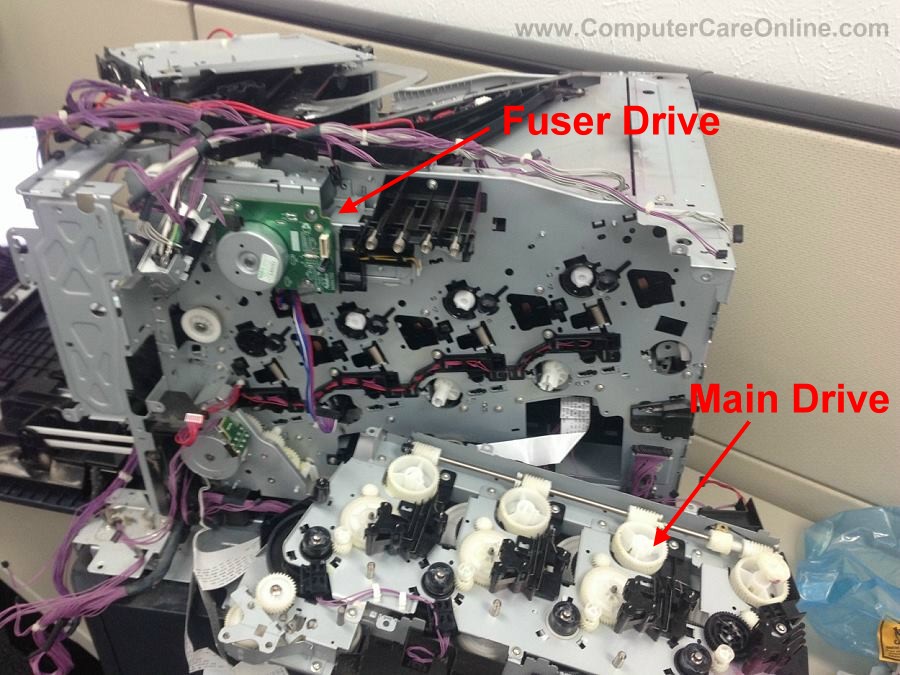
A grinding noise is of course not normal. The Fuser Drive is a gearbox that is mounted in the back top corner of the printer and serves several functions, one of which is of course driving the fuser.
Every time I have run into this error code and there was an associated grinding noise, it was a failed Fuser Drive. There is also a belt on this assembly that can break. A new drive assembly comes with this belt installed for you.
Also there is a solenoid on the assembly that can, will and does fail or stick, when that happens this error will occur.
The printer can be started and even run with the top and rear covers off, to aid in diagnostics. (I make a habit of starting printers with the covers off after a repair, just to verify them before I put the cosmetic stuff back in place. Just in case something has to be adjusted or redone).
The diagnostics of this problem are fairly straightforward and can be accomplished rather quickly, the repair on the other had is not as simple.
This printer is torn down and the new Fuser Drive has just been installed.
Allocate 2 to 4 hours for this replacement, allow yourself time to take it slow and steady. There are a lot of cable connections, screws, alignments and you must remove and replace a few cable routing brackets.
Follow the manual steps, and work carefully and the repair can be accomplished with out issues.
Tip: when reinstalling the Main Drive Assembly, take care to rotate the cams into the correct positions, the manual is not very clear about this, you can see on the chassis how they need to be aligned and you may have to seat the unit several times before all the cams are reseated and engaged properly.
I recommend testing the printer with the top and rear covers off, just to verify.
This part is buried in there pretty good and is not an easy one to change, but it can be done.
Like Computer Care on FaceBook |
Follow us on Twitter |
Computer Care on Pinterest |
Computer Care on instagram |
Visit the Computer Care Catalog Online for all your part needs | Tips, Tricks and Repair Info Blog


